My first experience with a Costa Rican washing machine left me very confused. It's sort of a manual version of a typical western machine where you have to turn the water on and off and move the clothes from one side of the machine to the other.
Thank god for the gal that worked at my AirBnB who helped me with the many steps involved to get a load of laundry done. She's gone now so today I was on my own. I honestly couldn't remember everything she told me; fill the water first, then clothes, then run it, then somehow rinse/spin, flip this dial, slide that over. Ah, what's this?! An instruction sheet - woohoo!
The Basics
In short, it's a 2-sided machine. The left side is to fill up with water and wash the clothes. Then you move the clothes to the other side and have the water go into that side to rinse and then spin. You have to manually do all the steps including turning off the water at the correct time on both sides of the machine.
I used different timing than they did but I otherwise followed these instructions.

Here's an overview. Two-sided machine, water coming from the wall in the red hose, green drain pipe along the ground, and clotheslines outside.

Here are all the dials and sliders and spigots.
Step 1: Fill the Water
Make sure the Drain Selector dial is set to Wash and not Drain, make sure the Water Supply Selector (which basin the water will fill) is slid over to the left for the Wash and not Rinse basin, turn on the water source (in my case a regular hose spigot on the wall with a hose going into the machine).You need to manually stop the water when it's full enough for your load of clothes. I put the soap in, let the water run for a little bit to dissolve the powdered soap, then put my clothes in and turn the water off once they're submerged.

The water is filling up getting ready to wash.
Oops. I totally forgot I was filling the basin back up to wash my second load while I was hanging my first load up to dry!
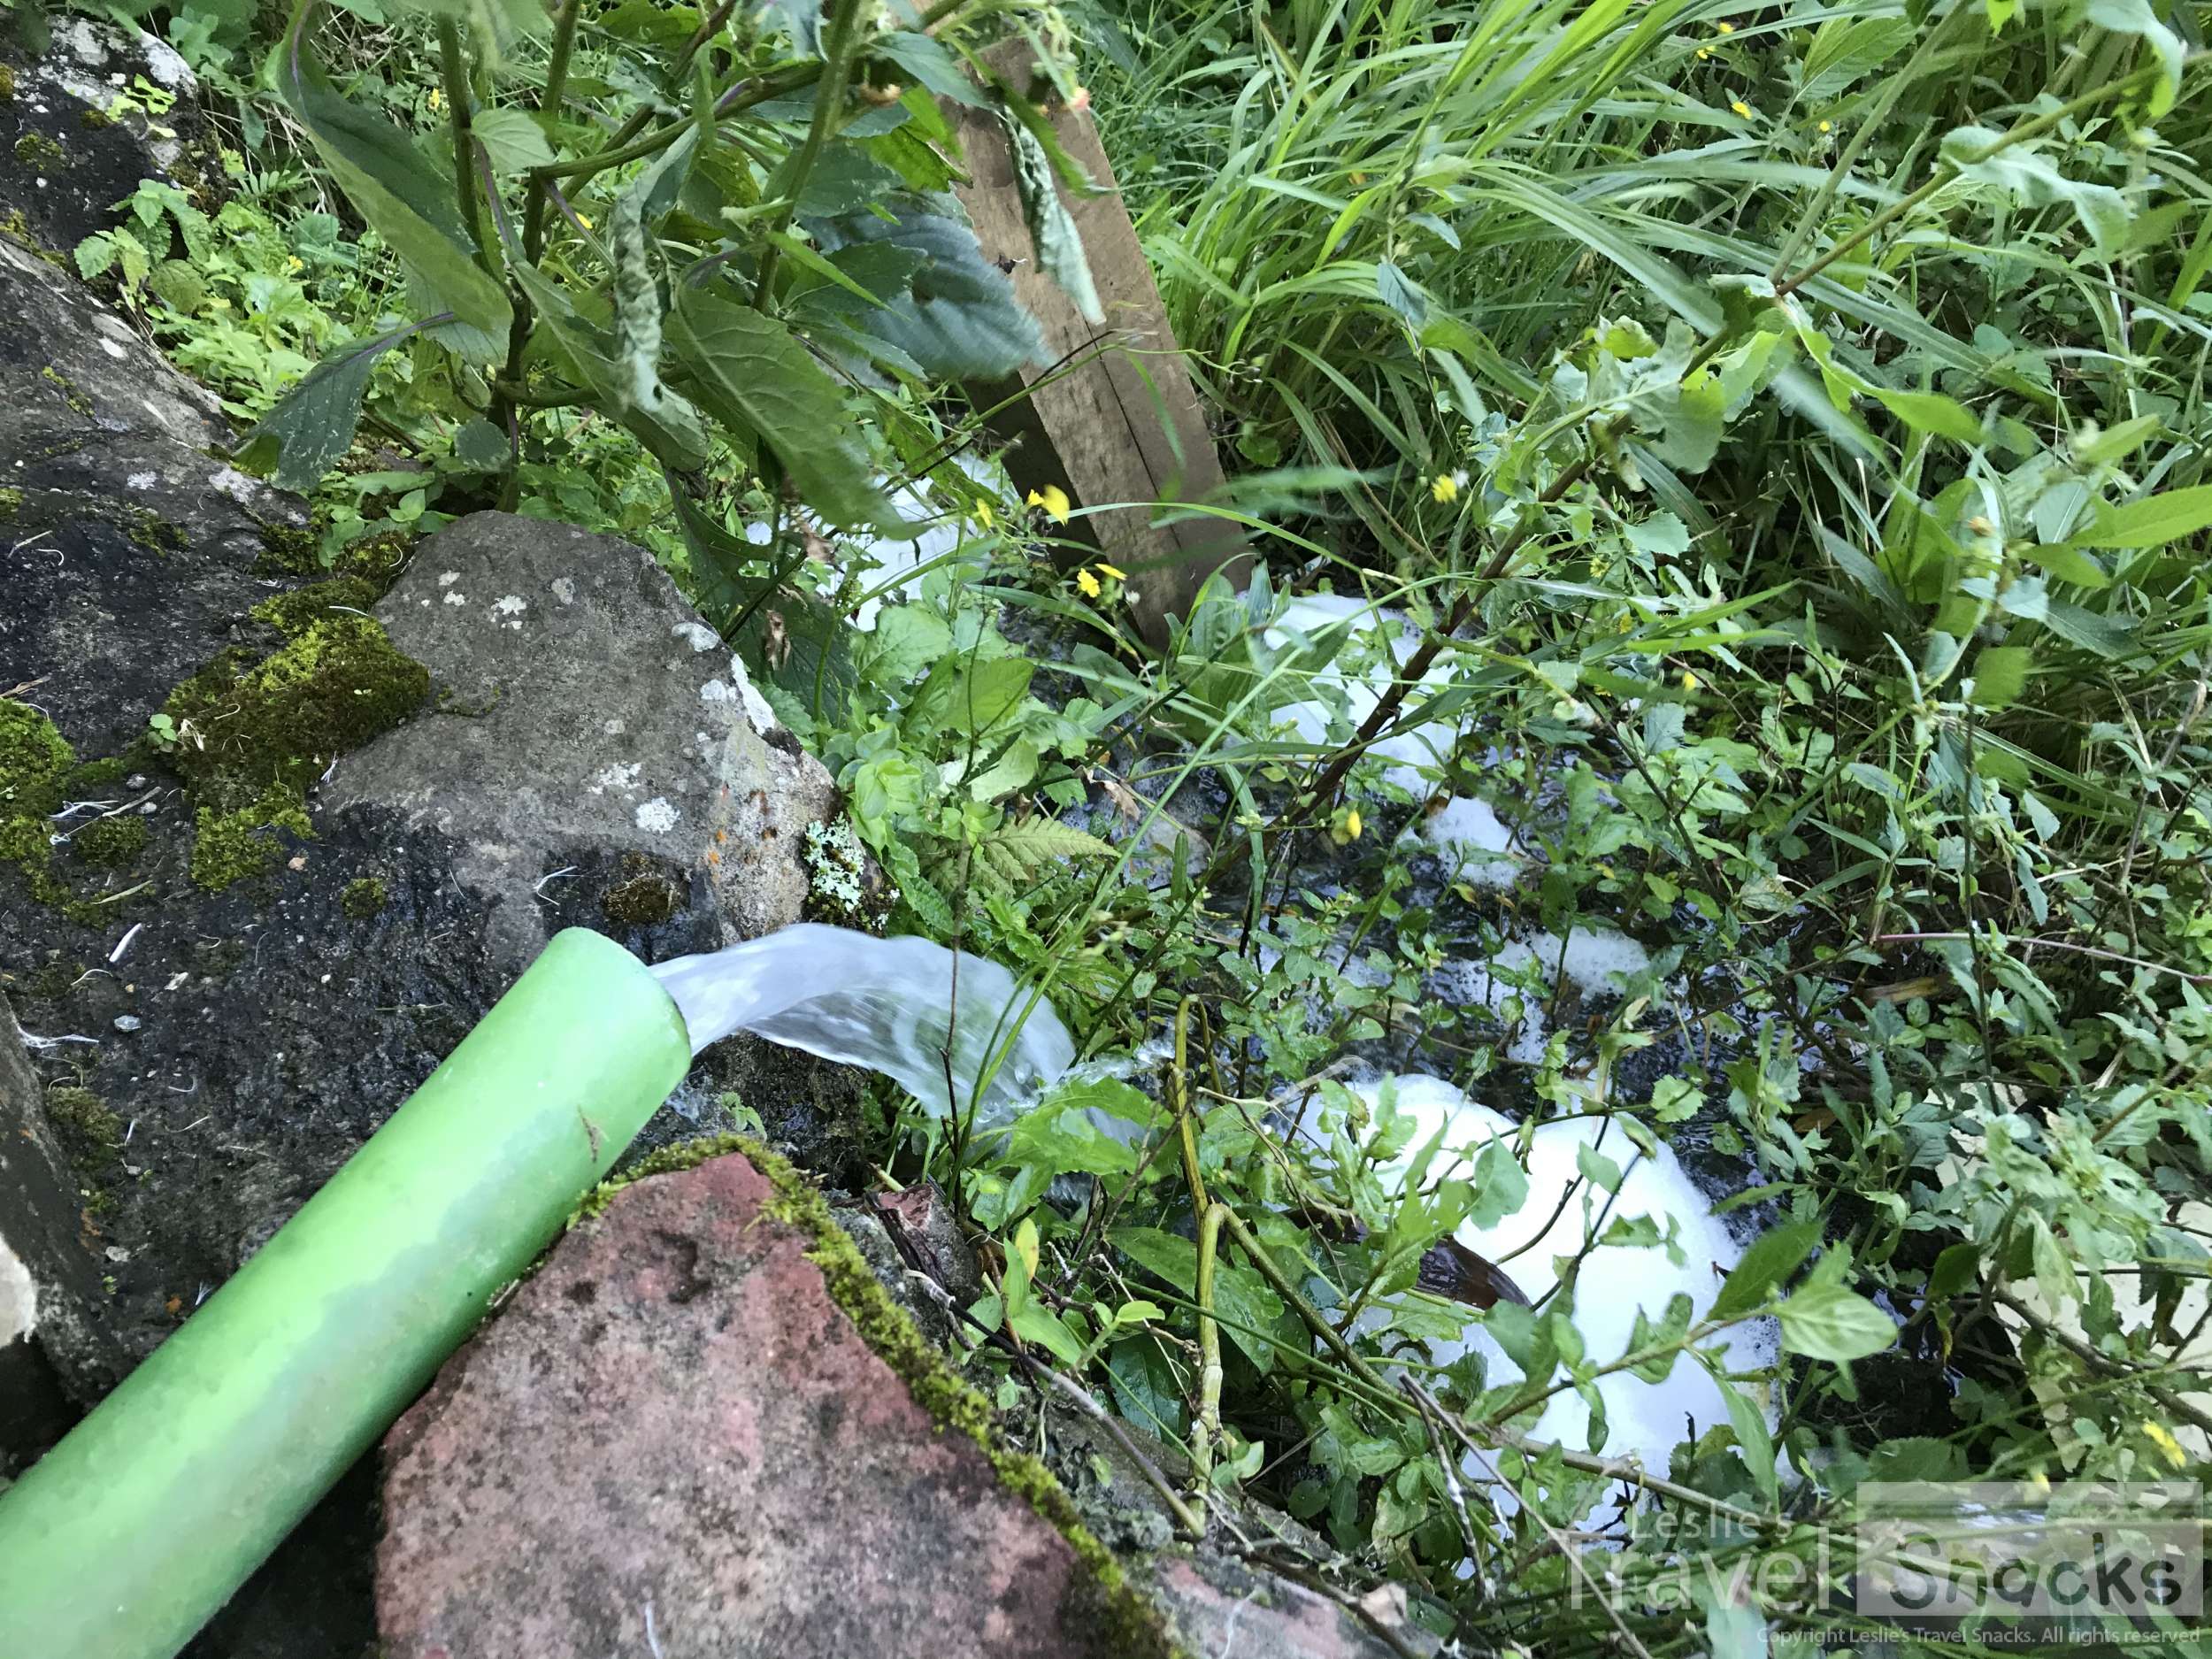
The plants sure don't seem to mind the soap! LOL Here's the drain.
Step 2: Wash
Now you're ready to wash. Select the type of Wash Program (Gentle, Normal, or Strong) and turn the Wash Timer dial. I use 12 minutes. On it goes! It gets some pretty decent agitation going. Wait until the time runs out.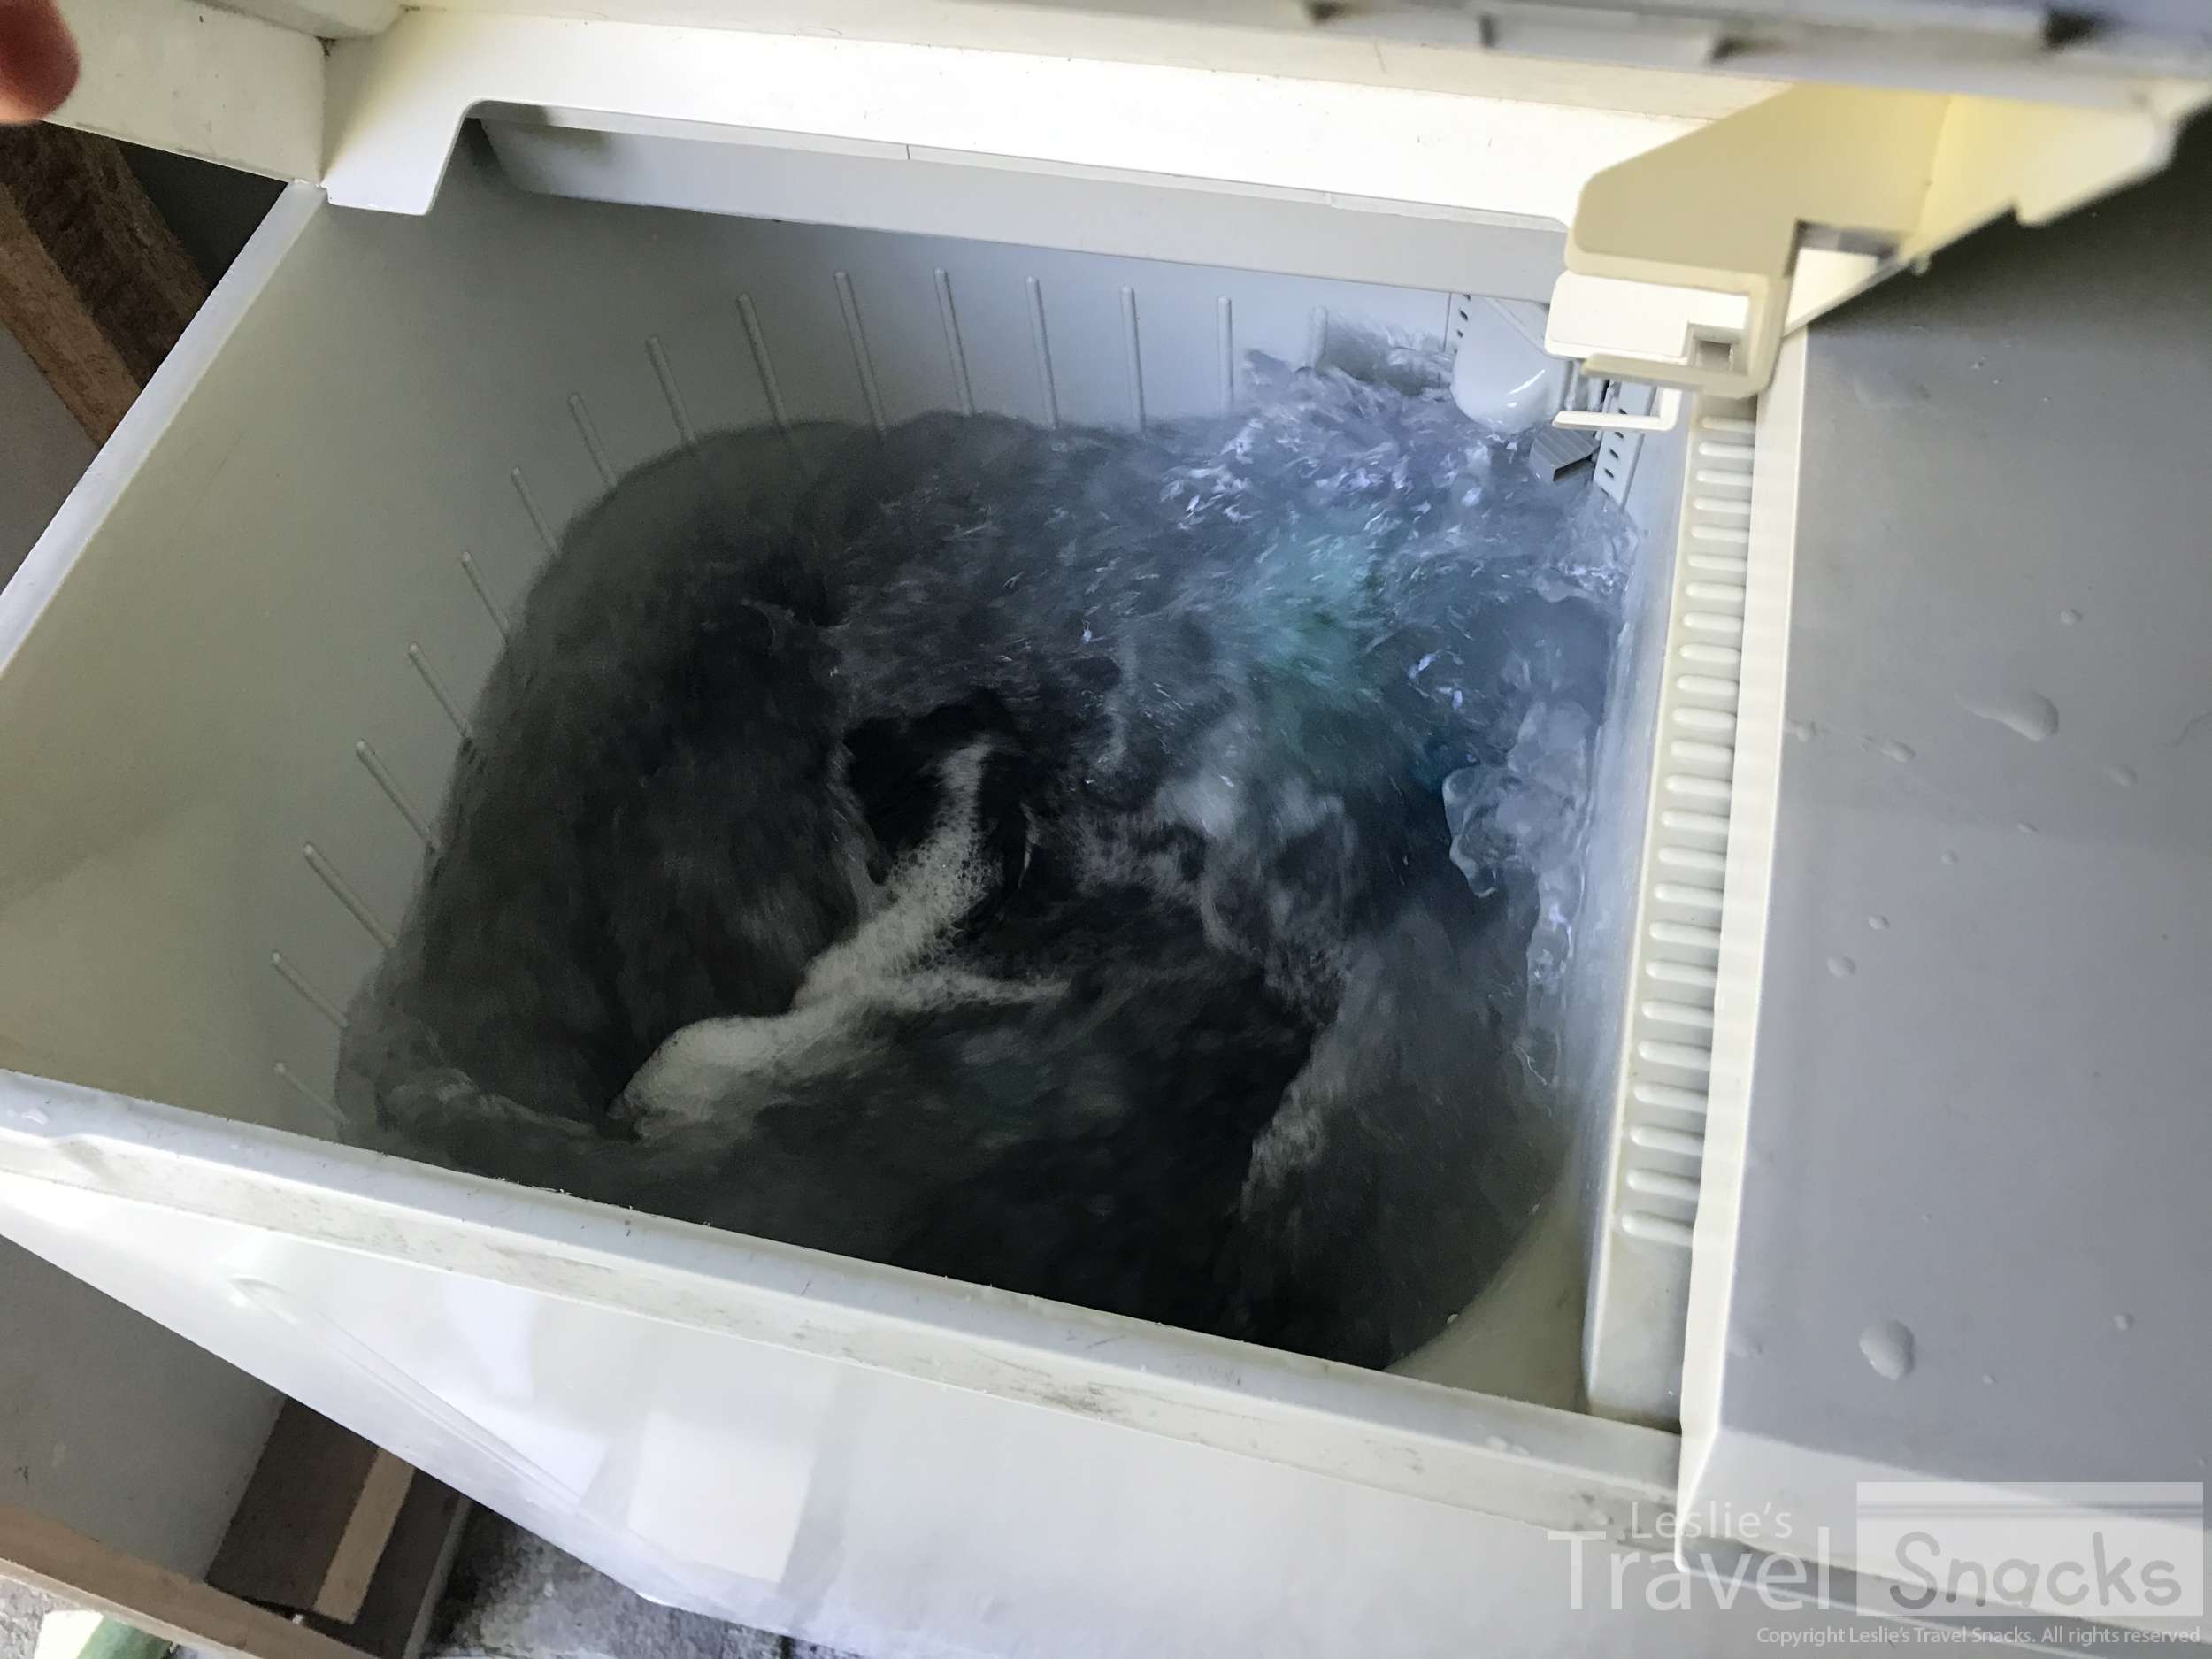
Woosh - it gets some pretty good action. My clothes turn out really clean. :)
Step 3: Drain and Move
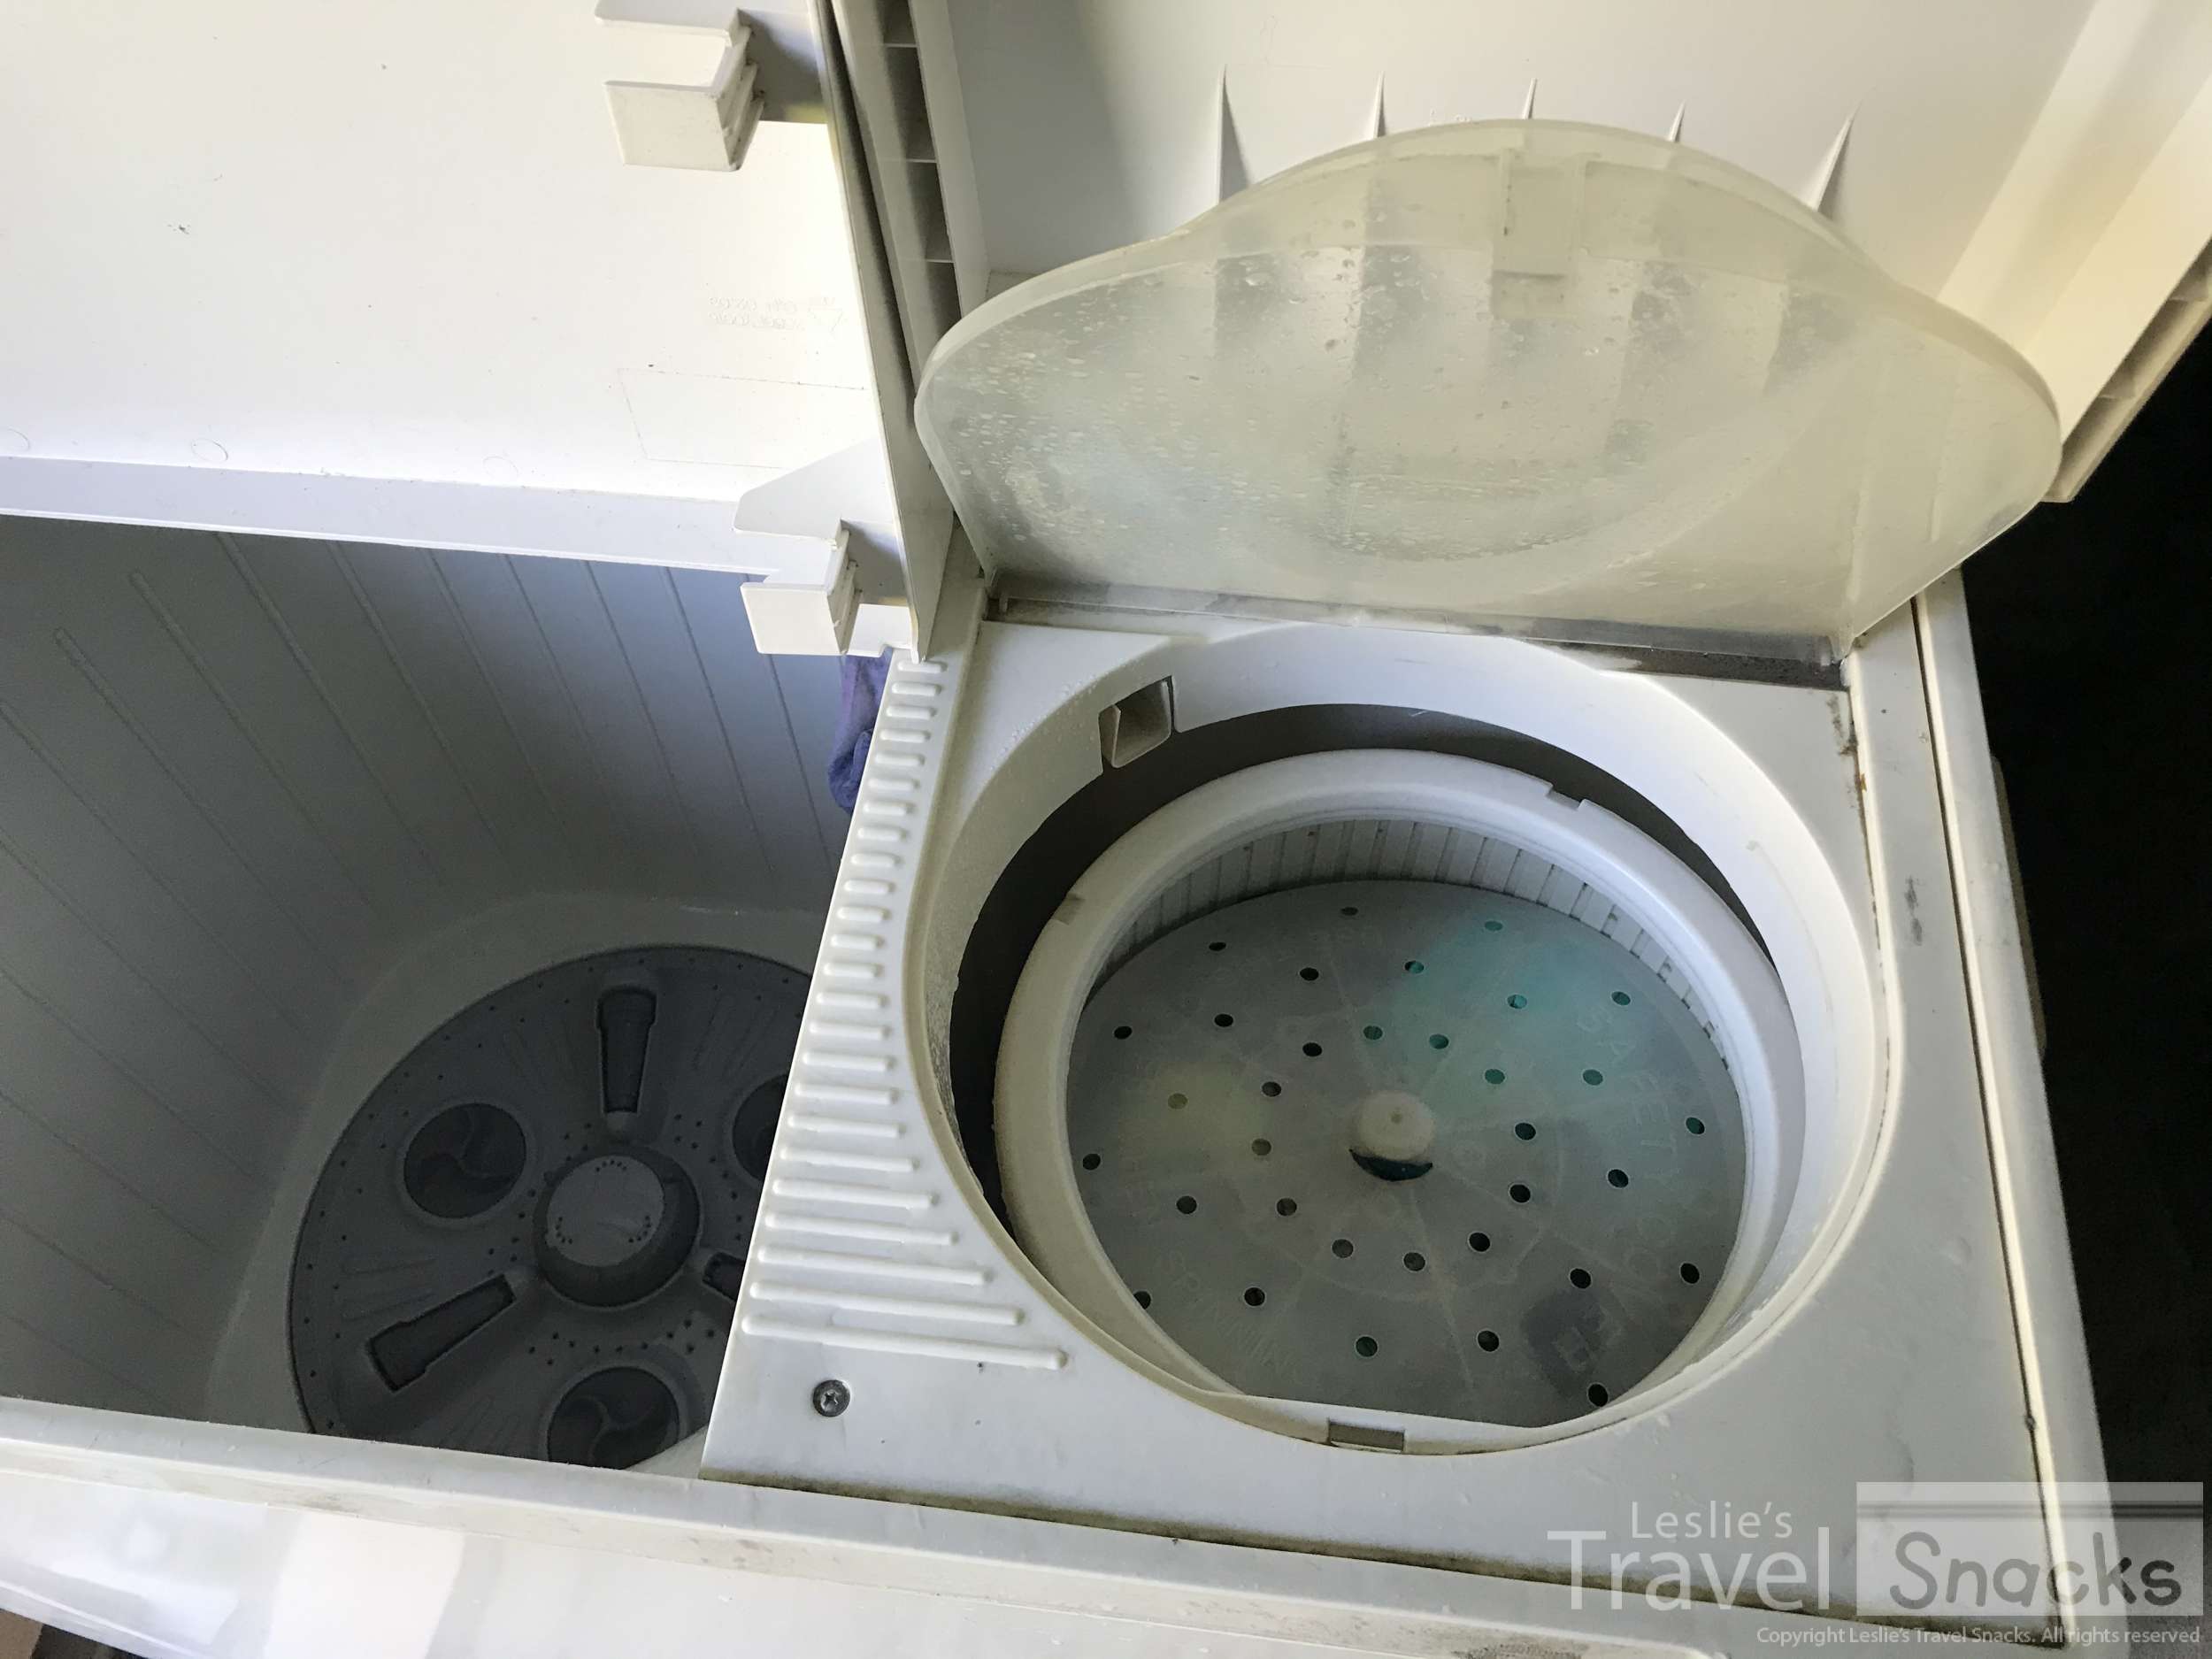
Set the Drain Selector dial to Drain and the water will drain out of the wash basin pretty quickly. You don't need to wait for it though. Move your wet soapy clothes over to the right side. The small side. If you have to do more than one rinse / spin batch, so be it. It only takes a few minutes.Open both lids on the right and pull out the semi-floppy protector cover. Put your clothes in and don't stuff it too full. Put the semi-floppy protector thingy inside and on top of your clothes.

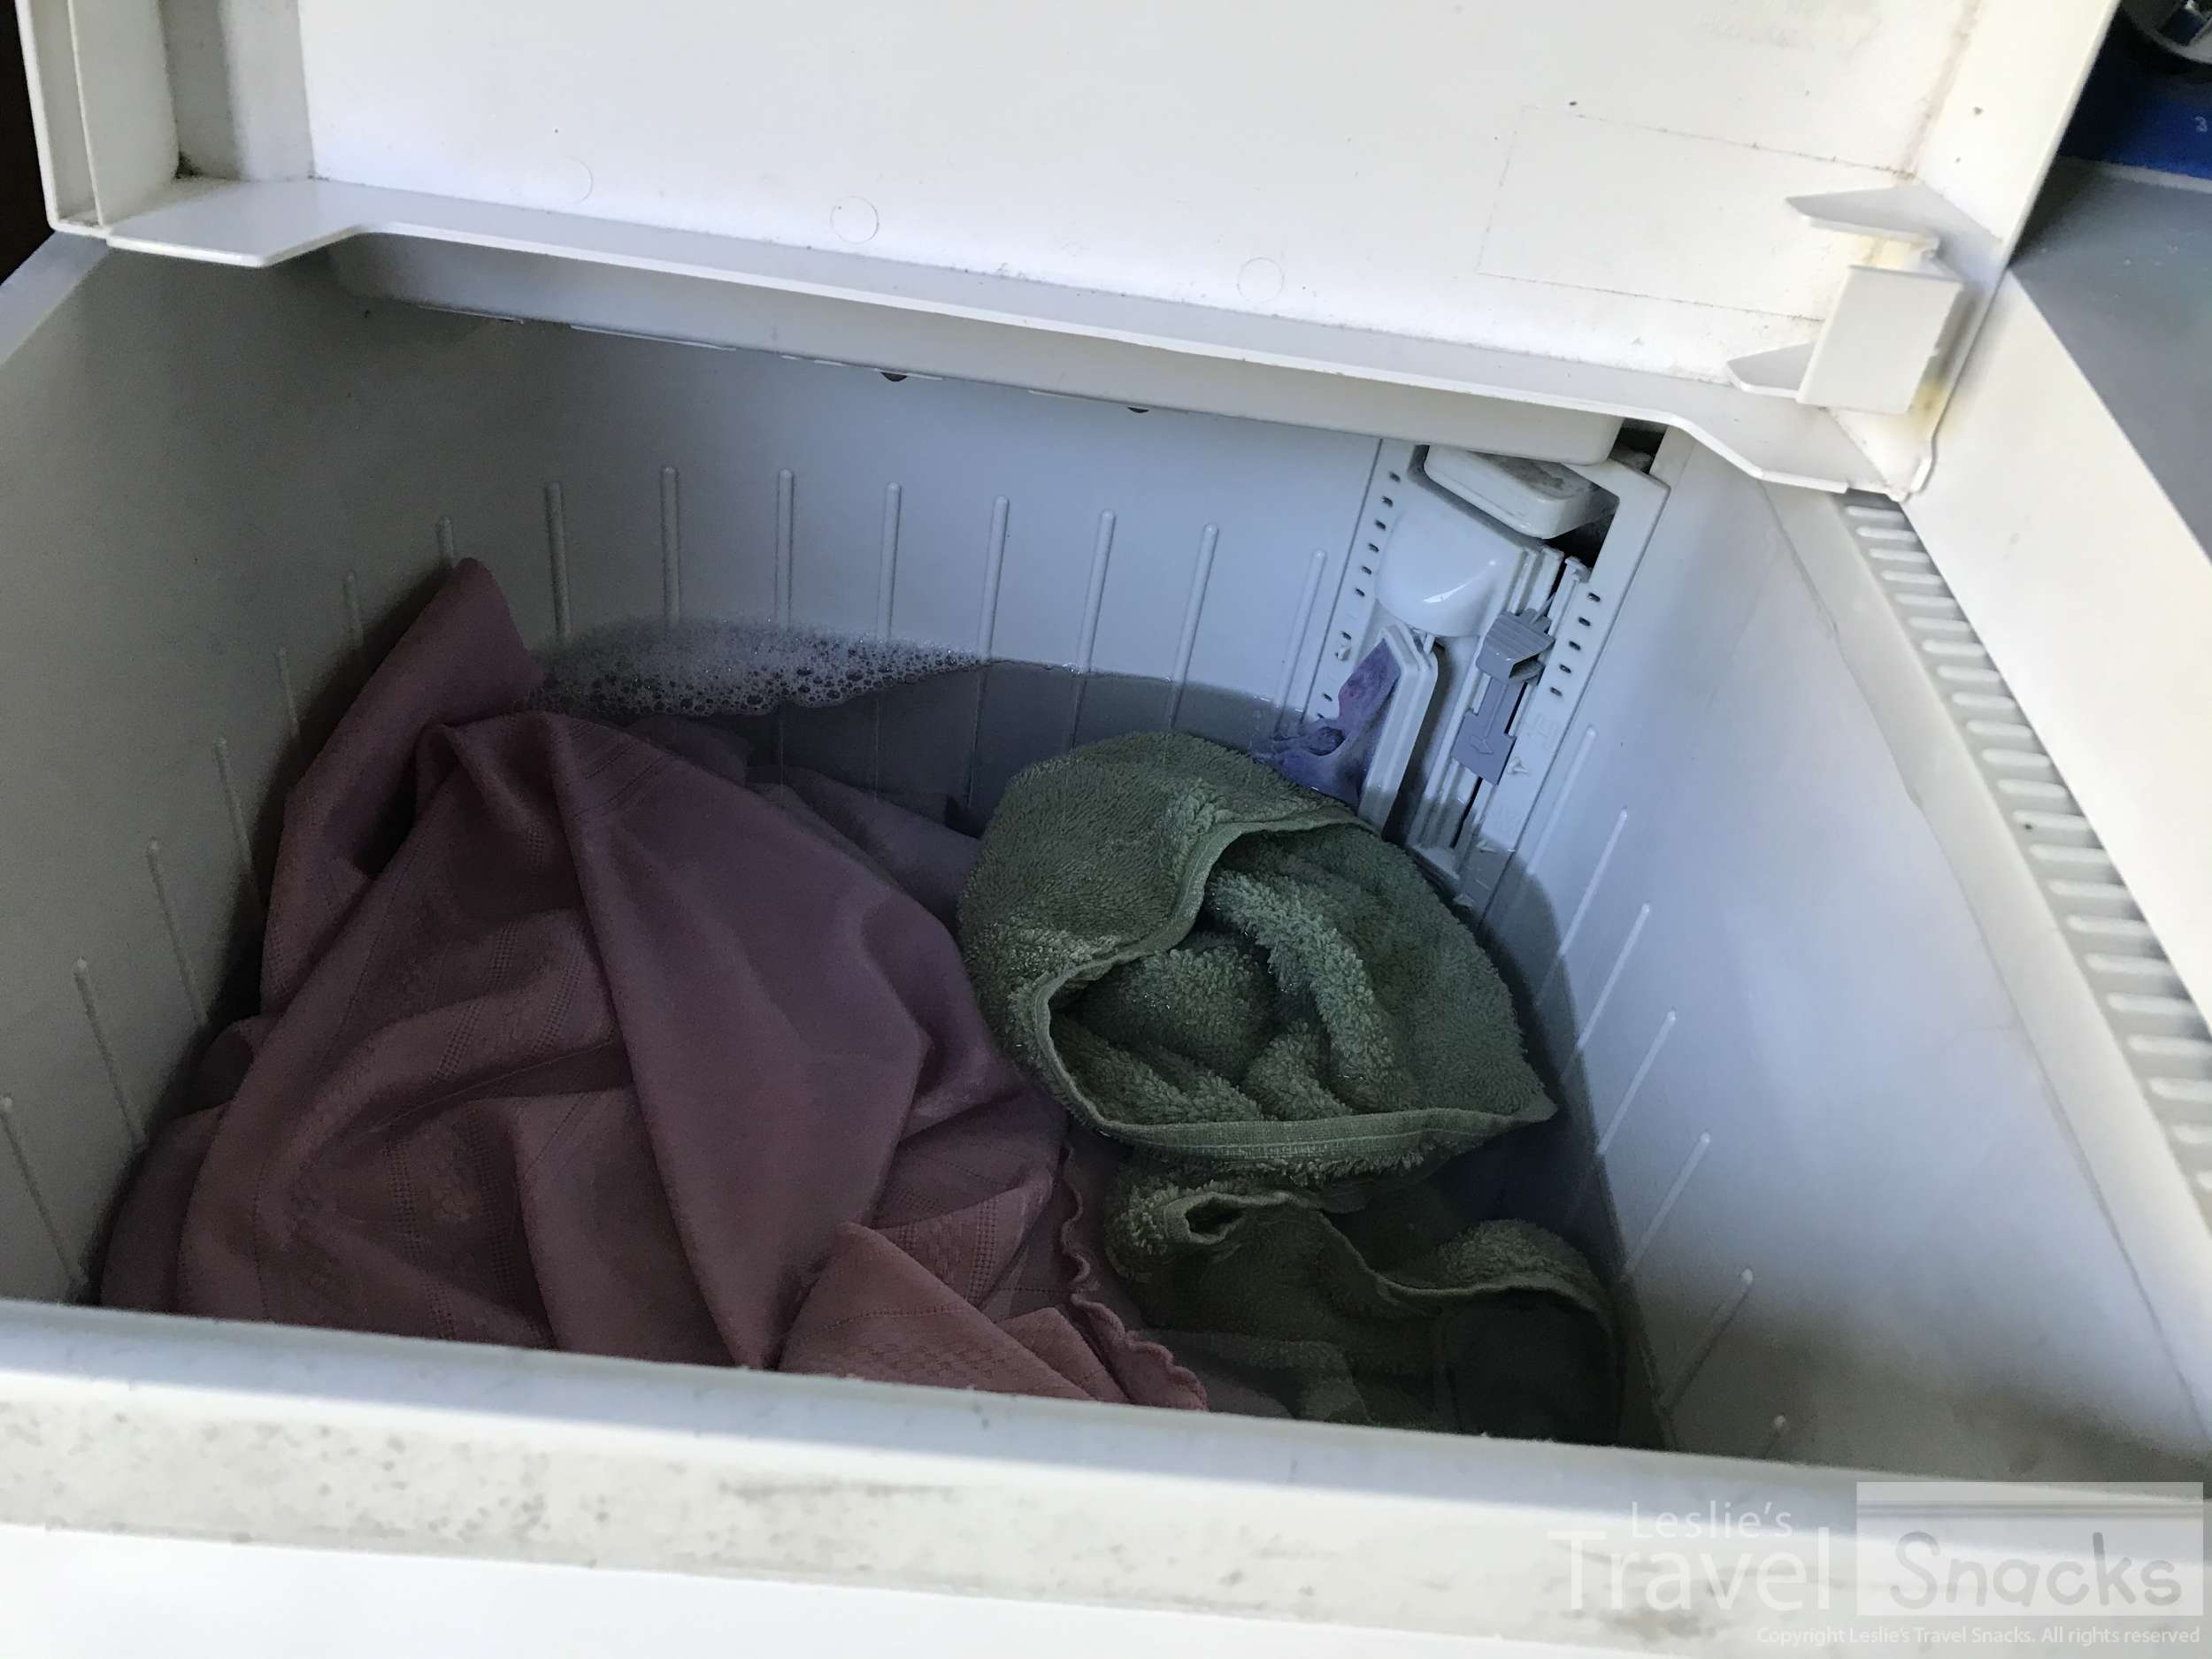
All washed and sitting in cold soapy dirty water.
Moving your clothes after the yucky water drains out is a little better.

This is the rinse / spin side.
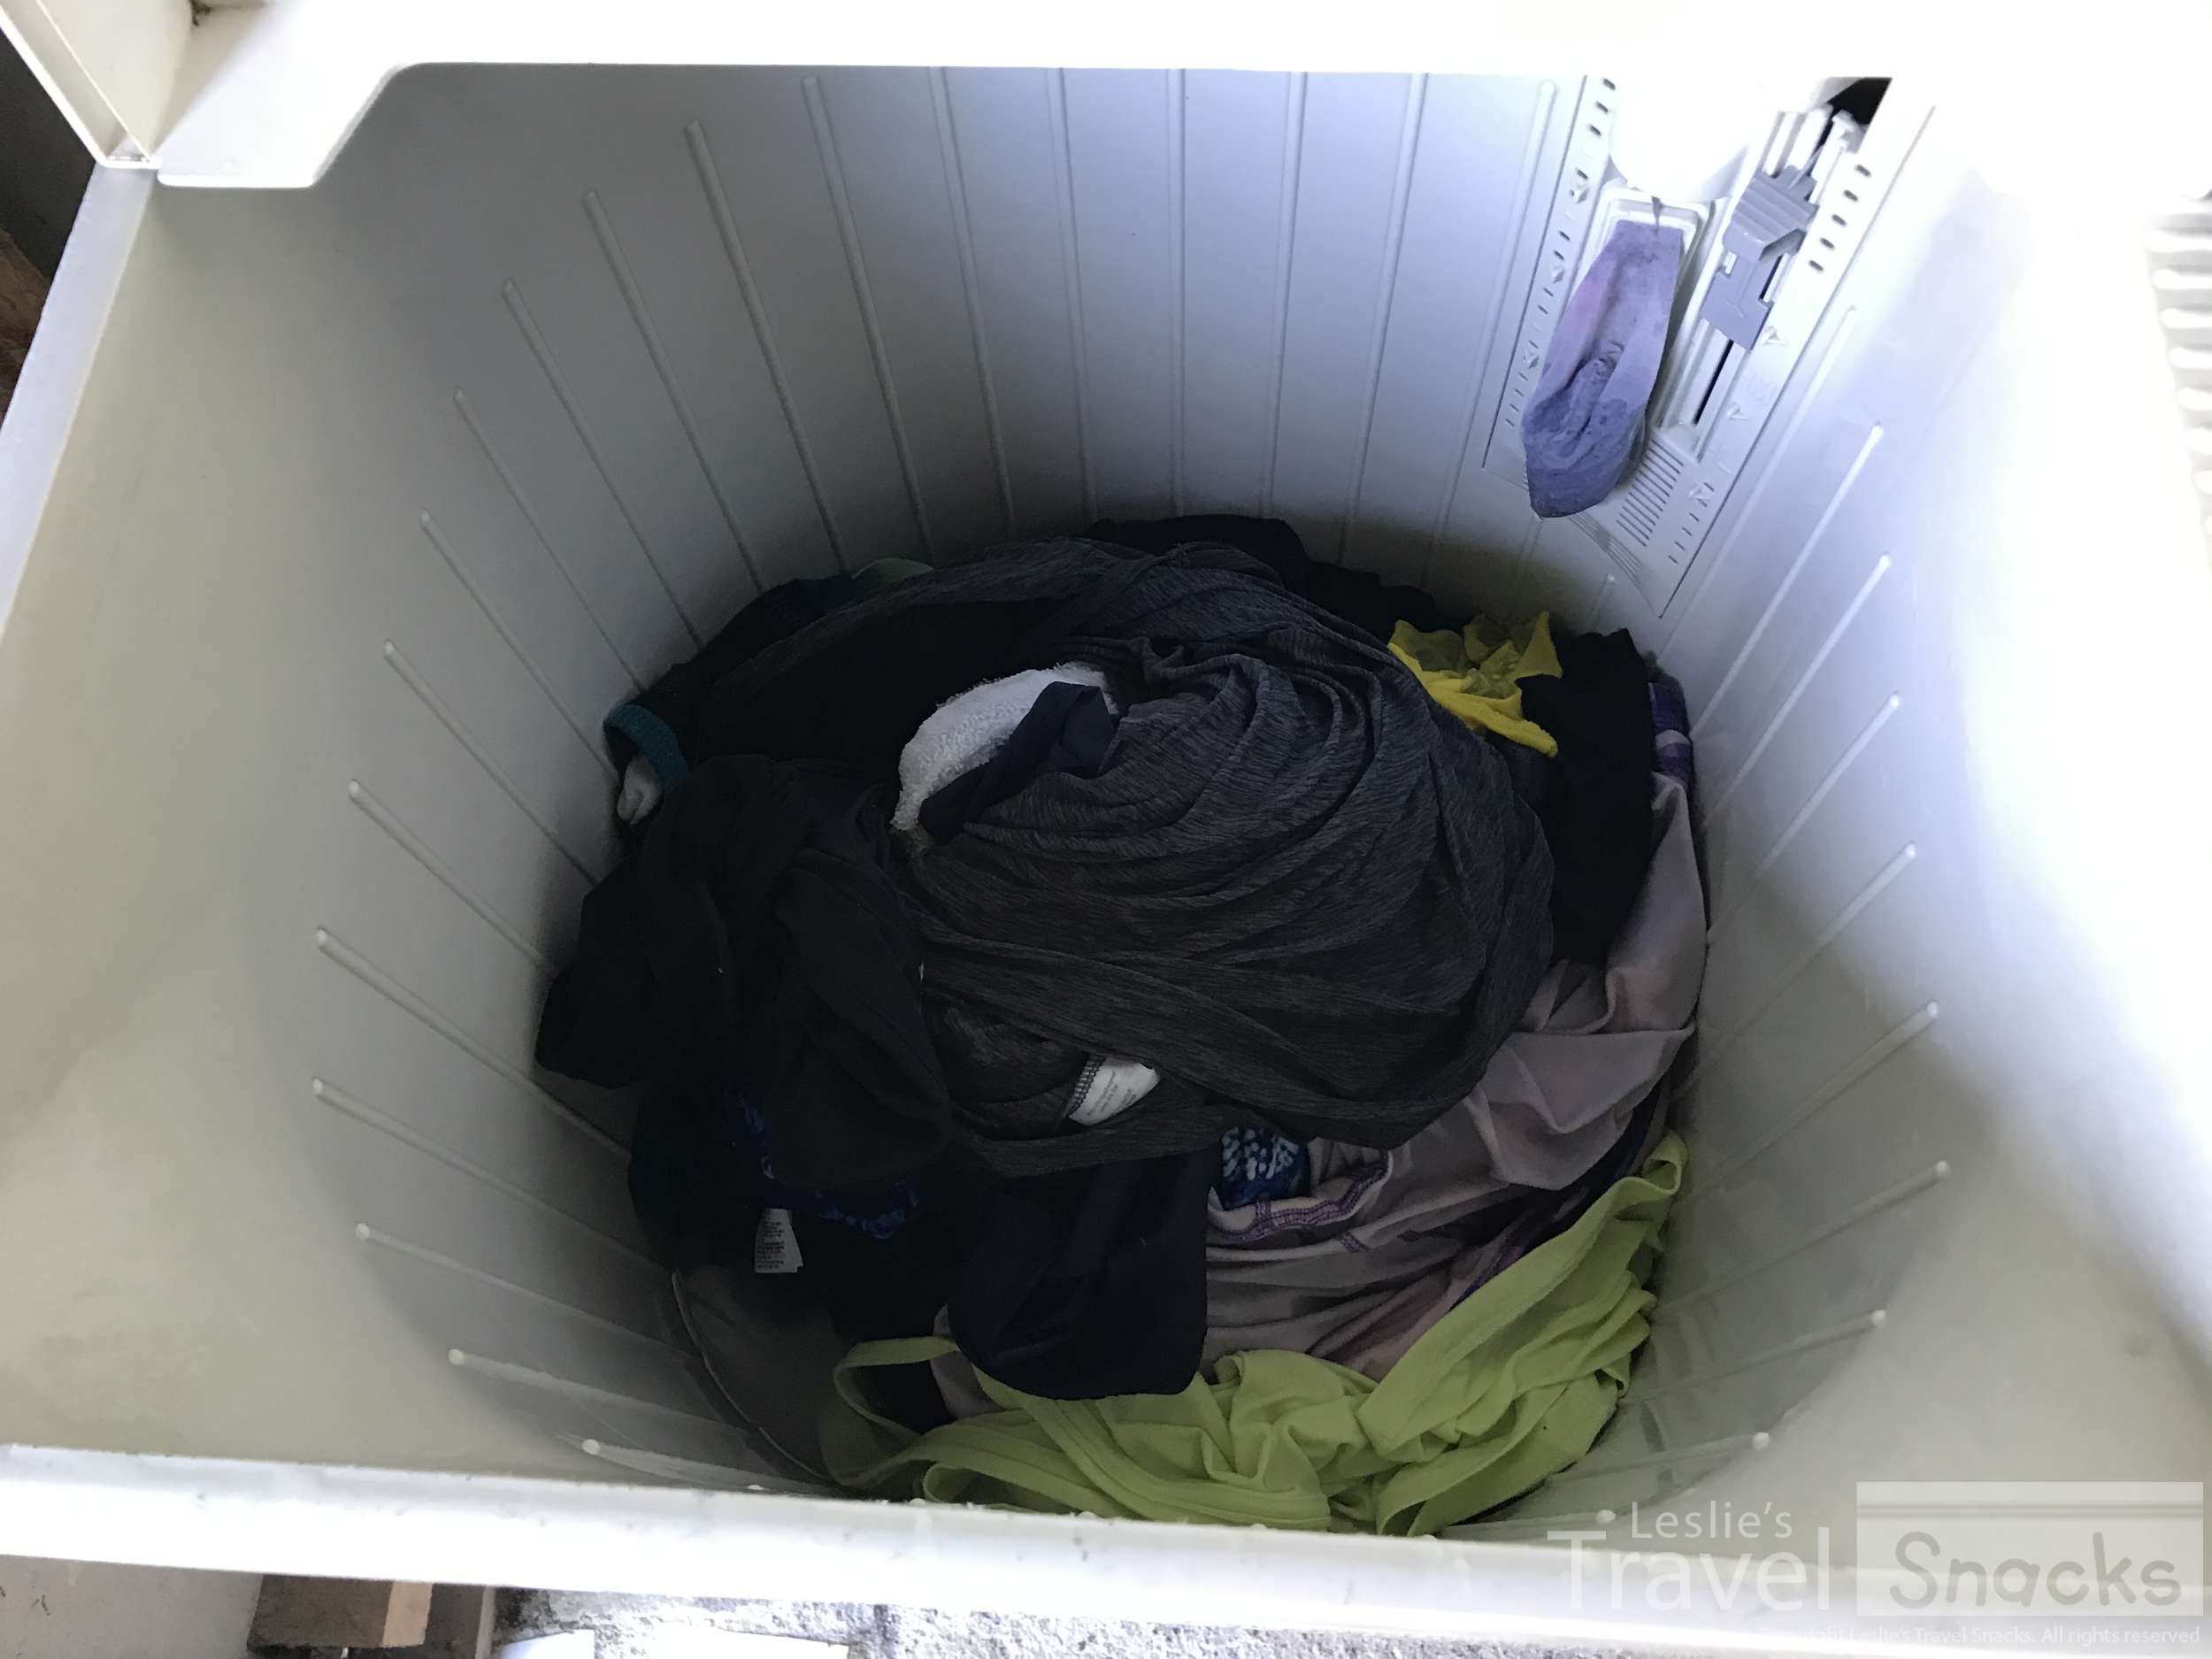
My first load all fit in the spinner in one go.
Step 4: Rinse and Spin
Slide the Water Supply Selector over to the right for the Rinse basin, turn on the water source (the same water spigot). Close the lids and set the Spin Timer for 5 minutes. After 2 minutes, turn off the water. That was your rinse cycle. Let it continue for the rest of the Spin Time and that's your spin cycle. :)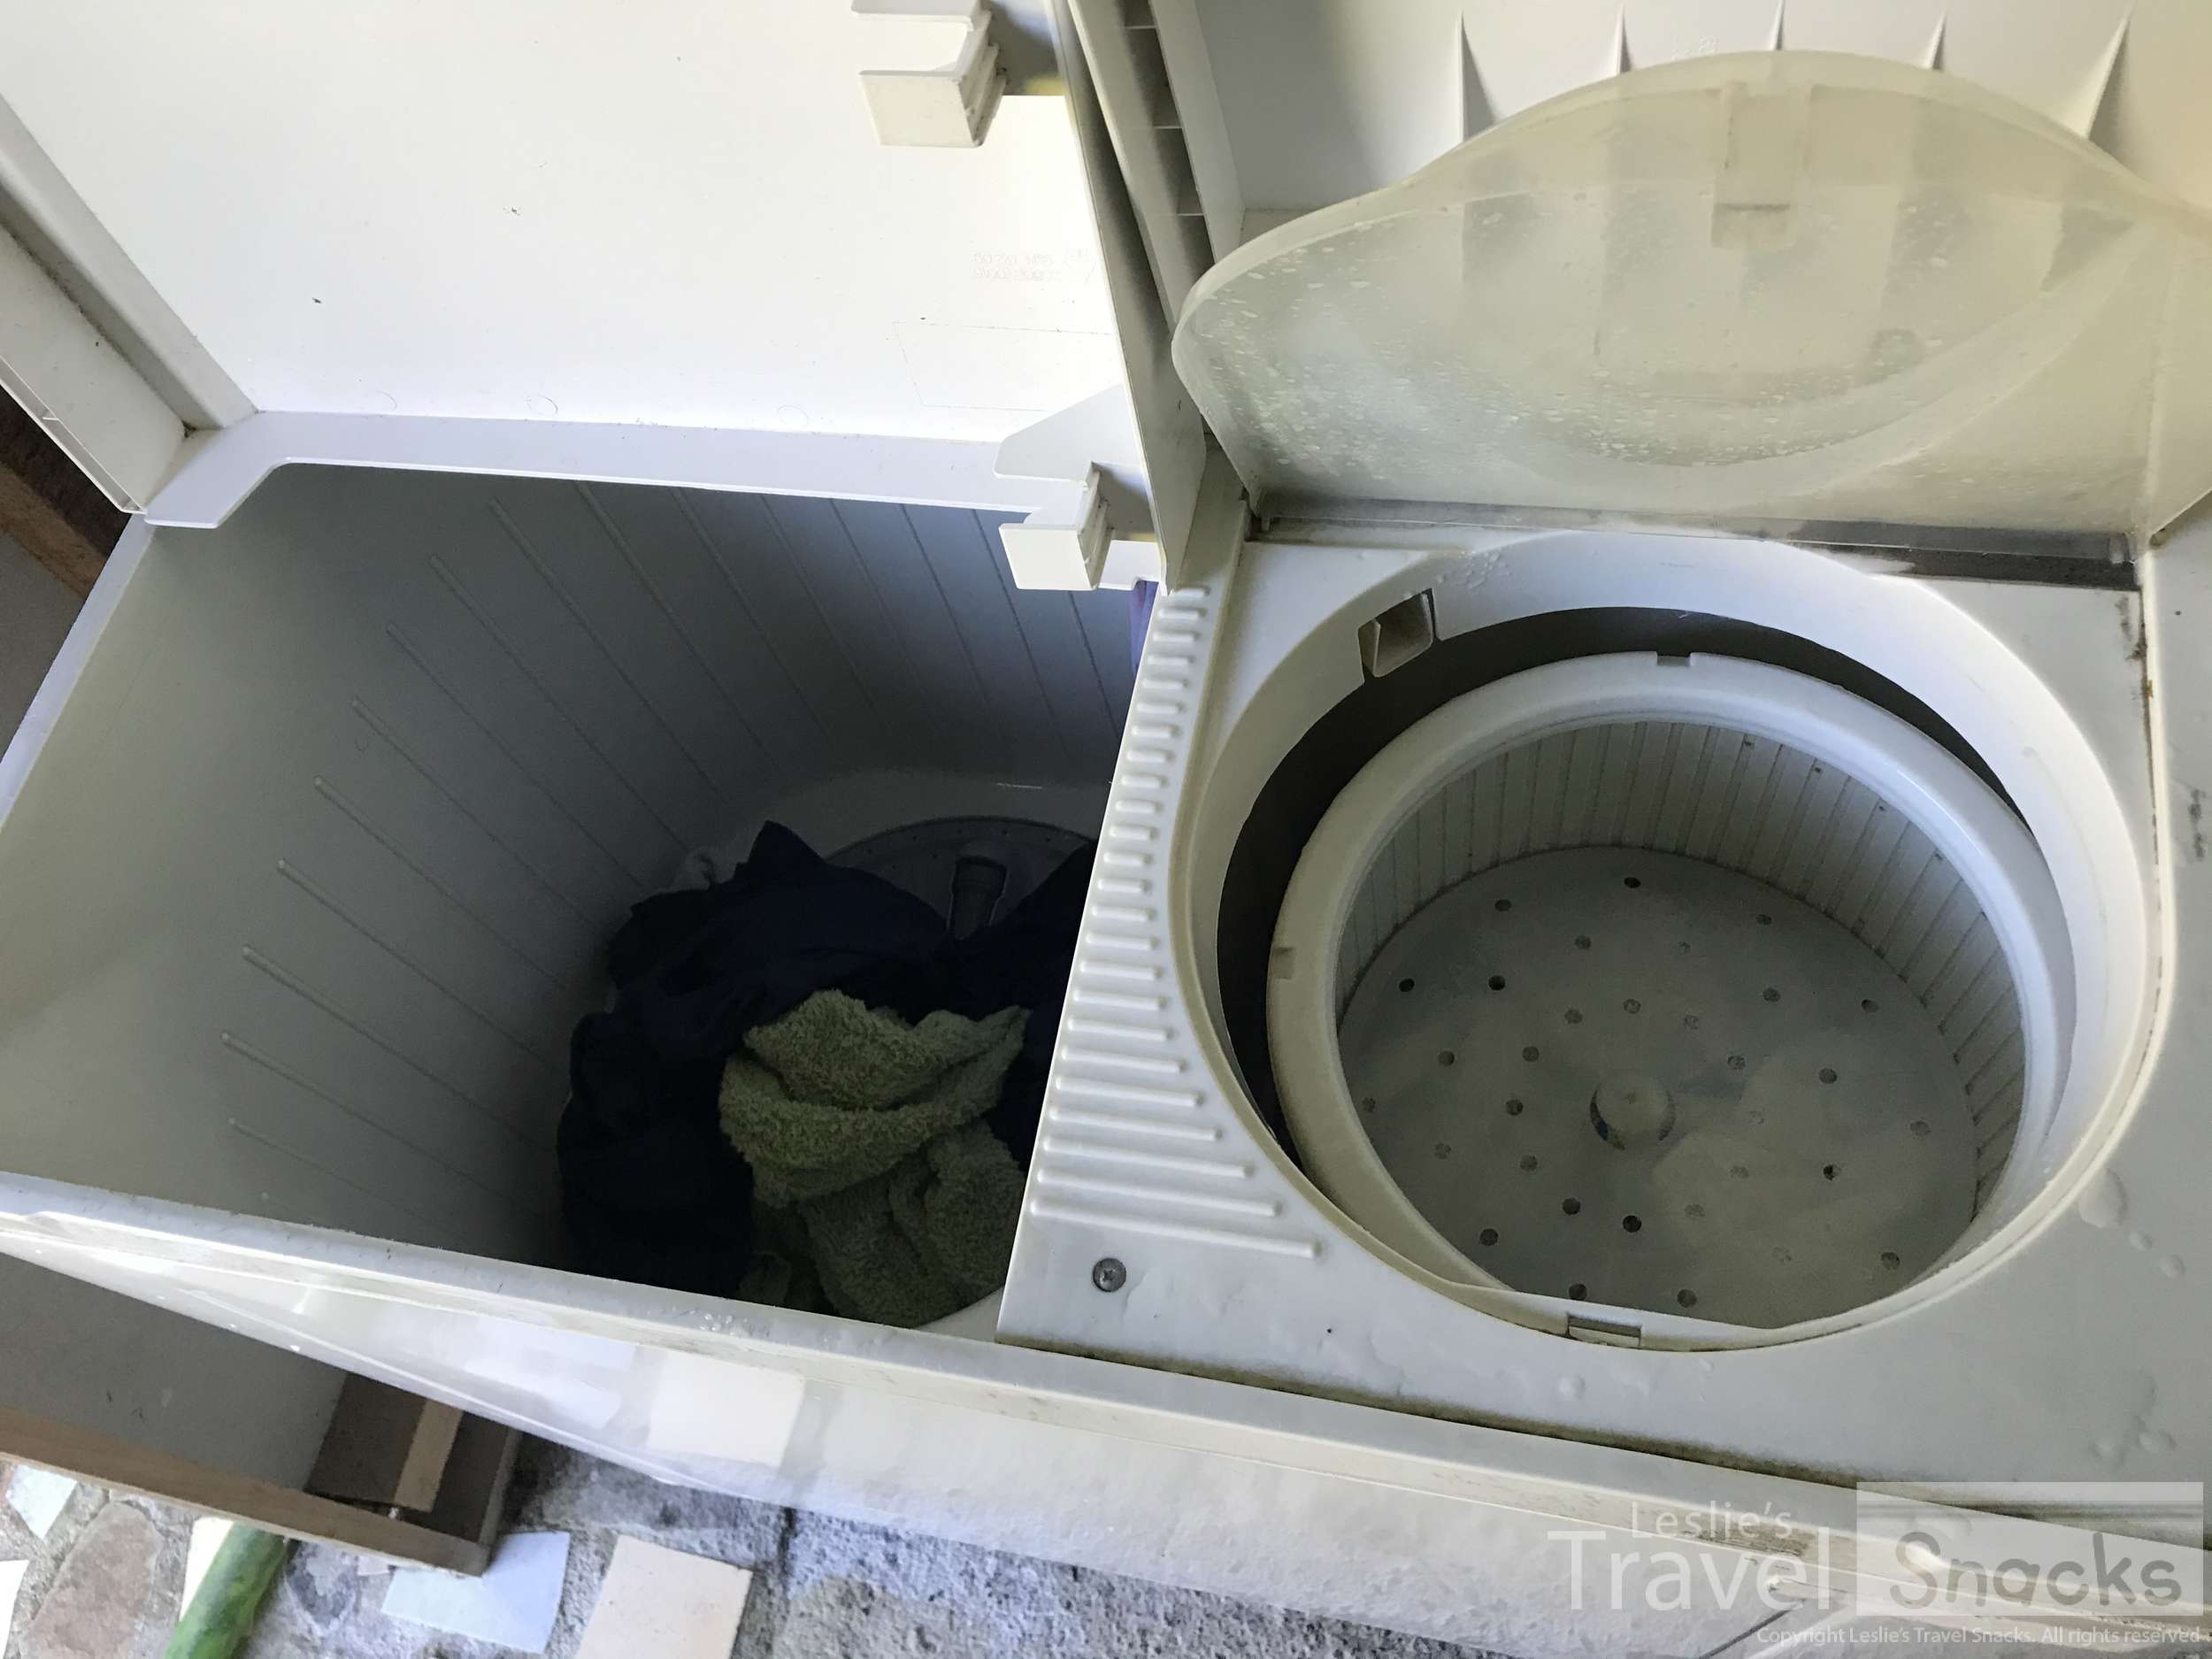
You can just leave some of your clothes in the wash side if you need to do more than one rinse / spin cycle.

The rinse cycle. It spins while water runs into it.
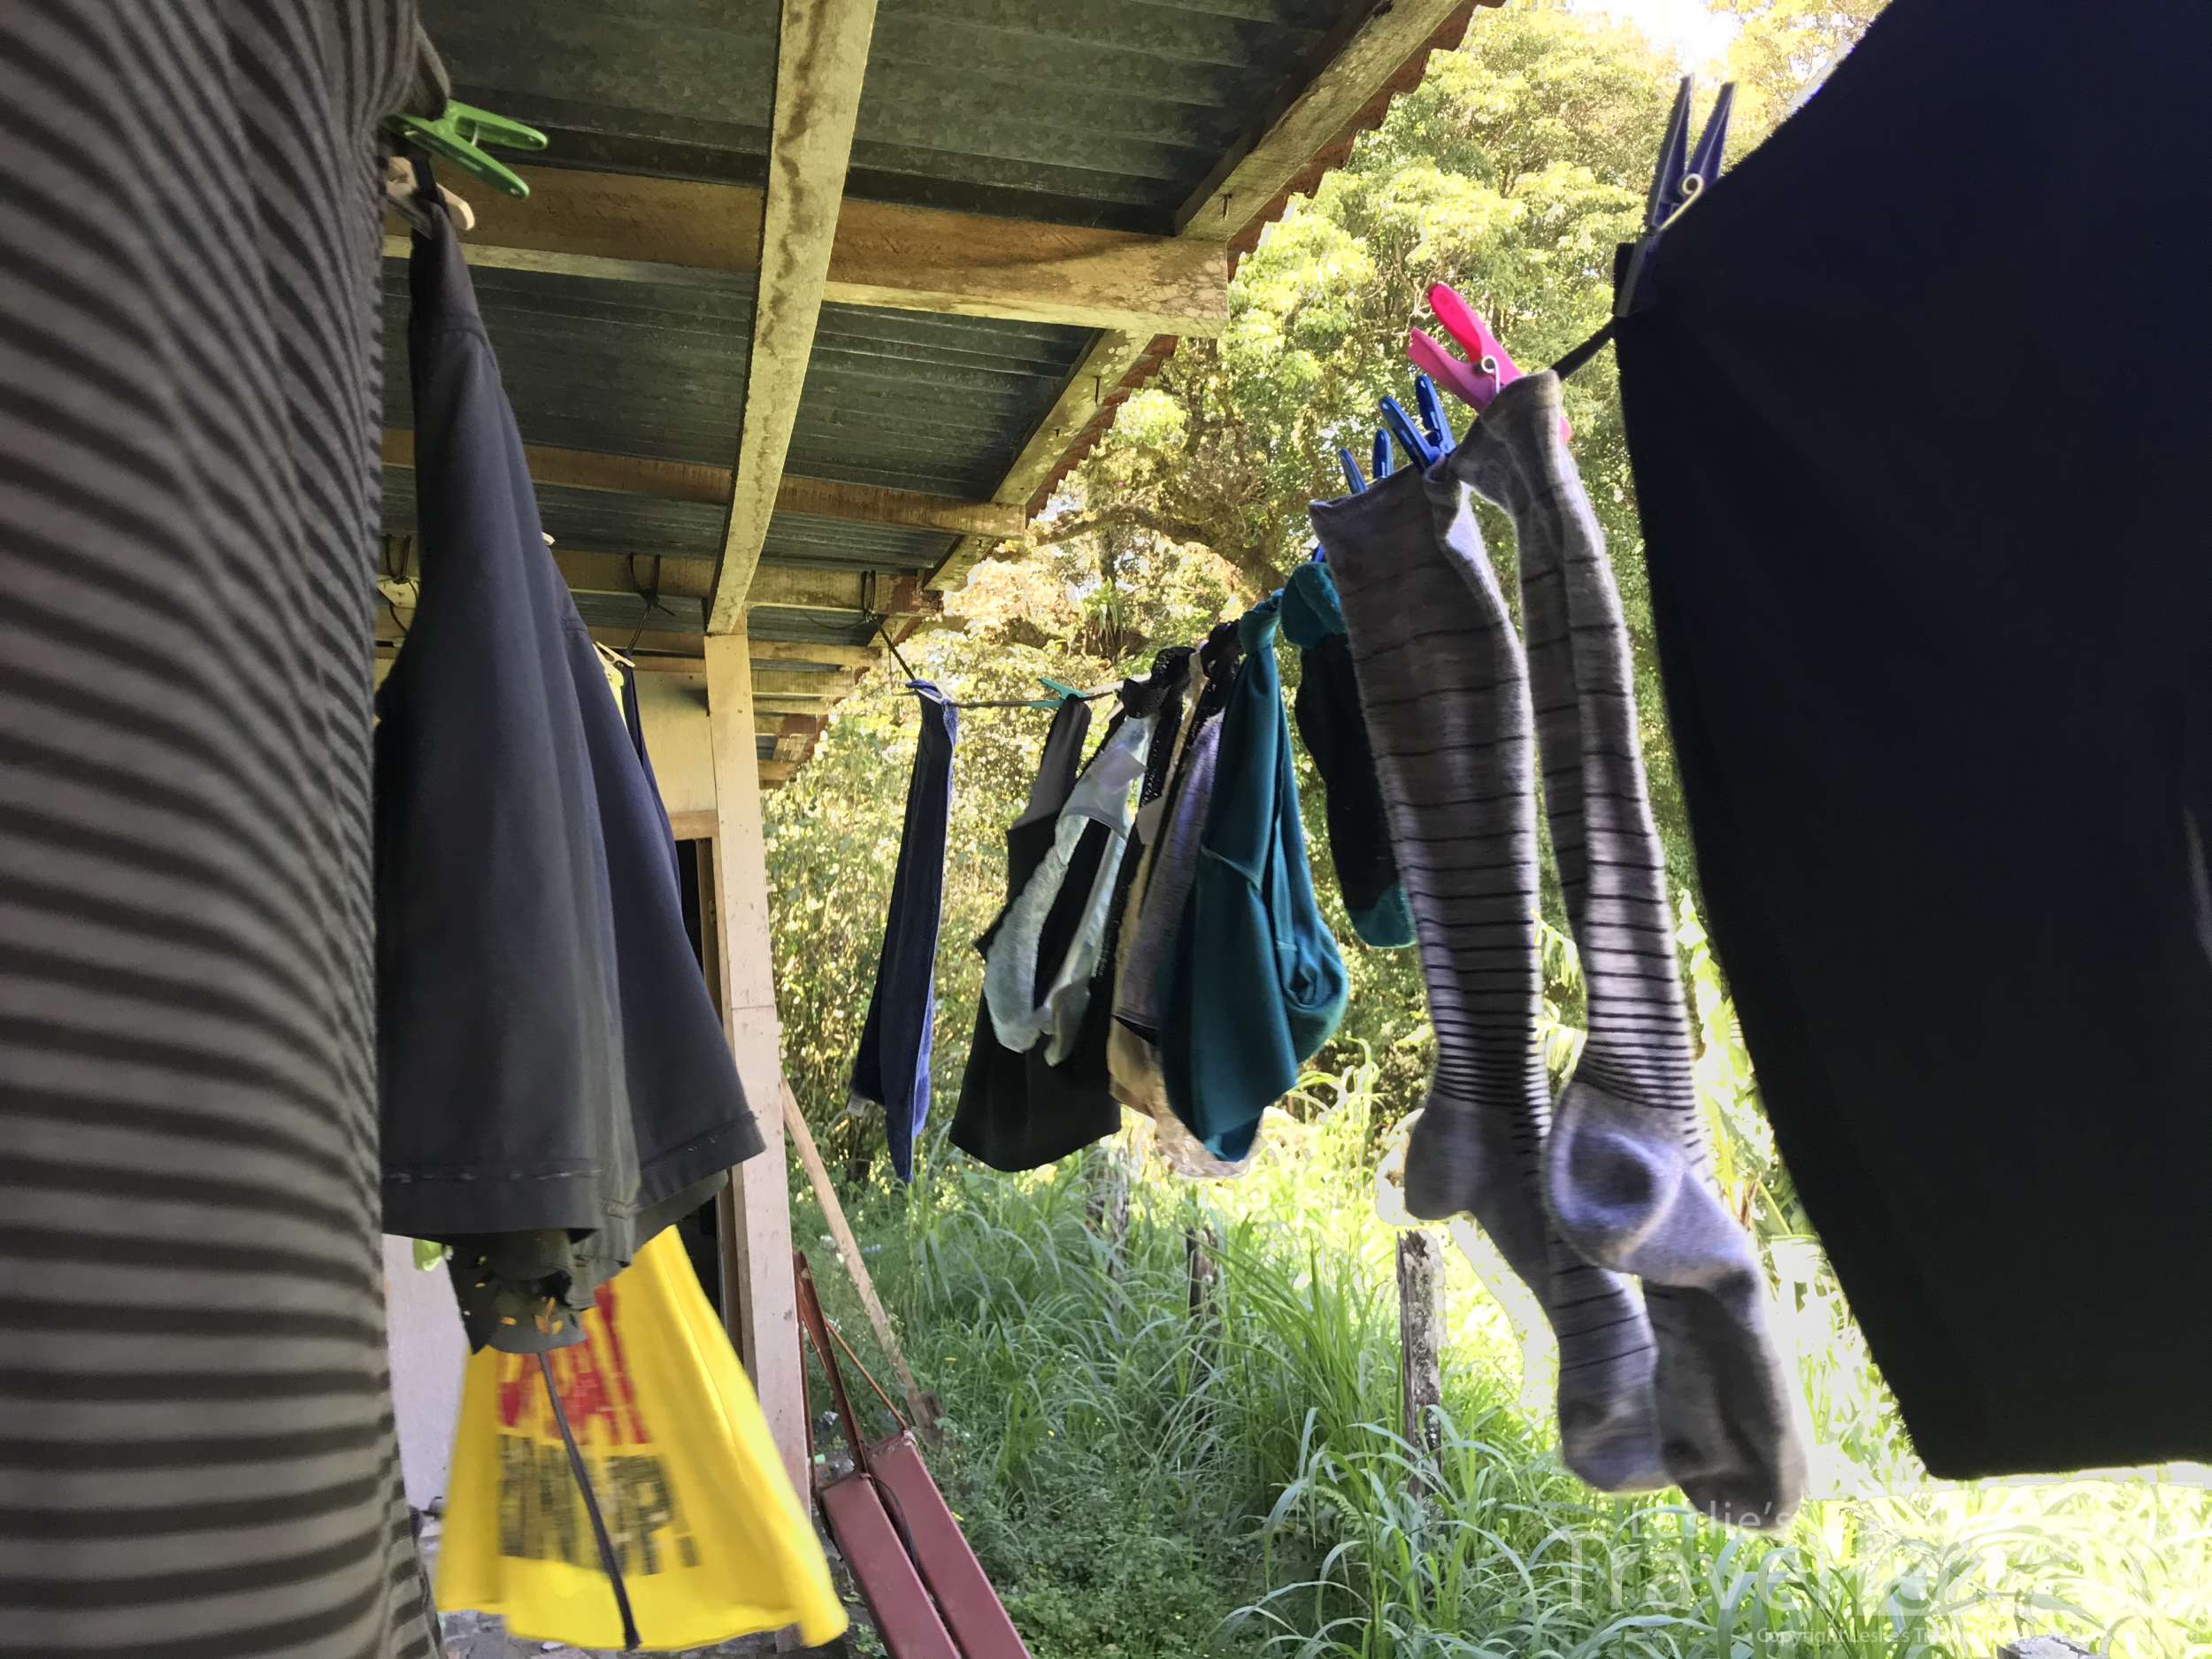
Step 5: Hang to Dry
You're done! Well, almost. Now you have to hang it all up. Hang your clothes upside down and inside out so as not to get clothespin lumps and not to fade your clothes. And hope it doesn't rain. ;)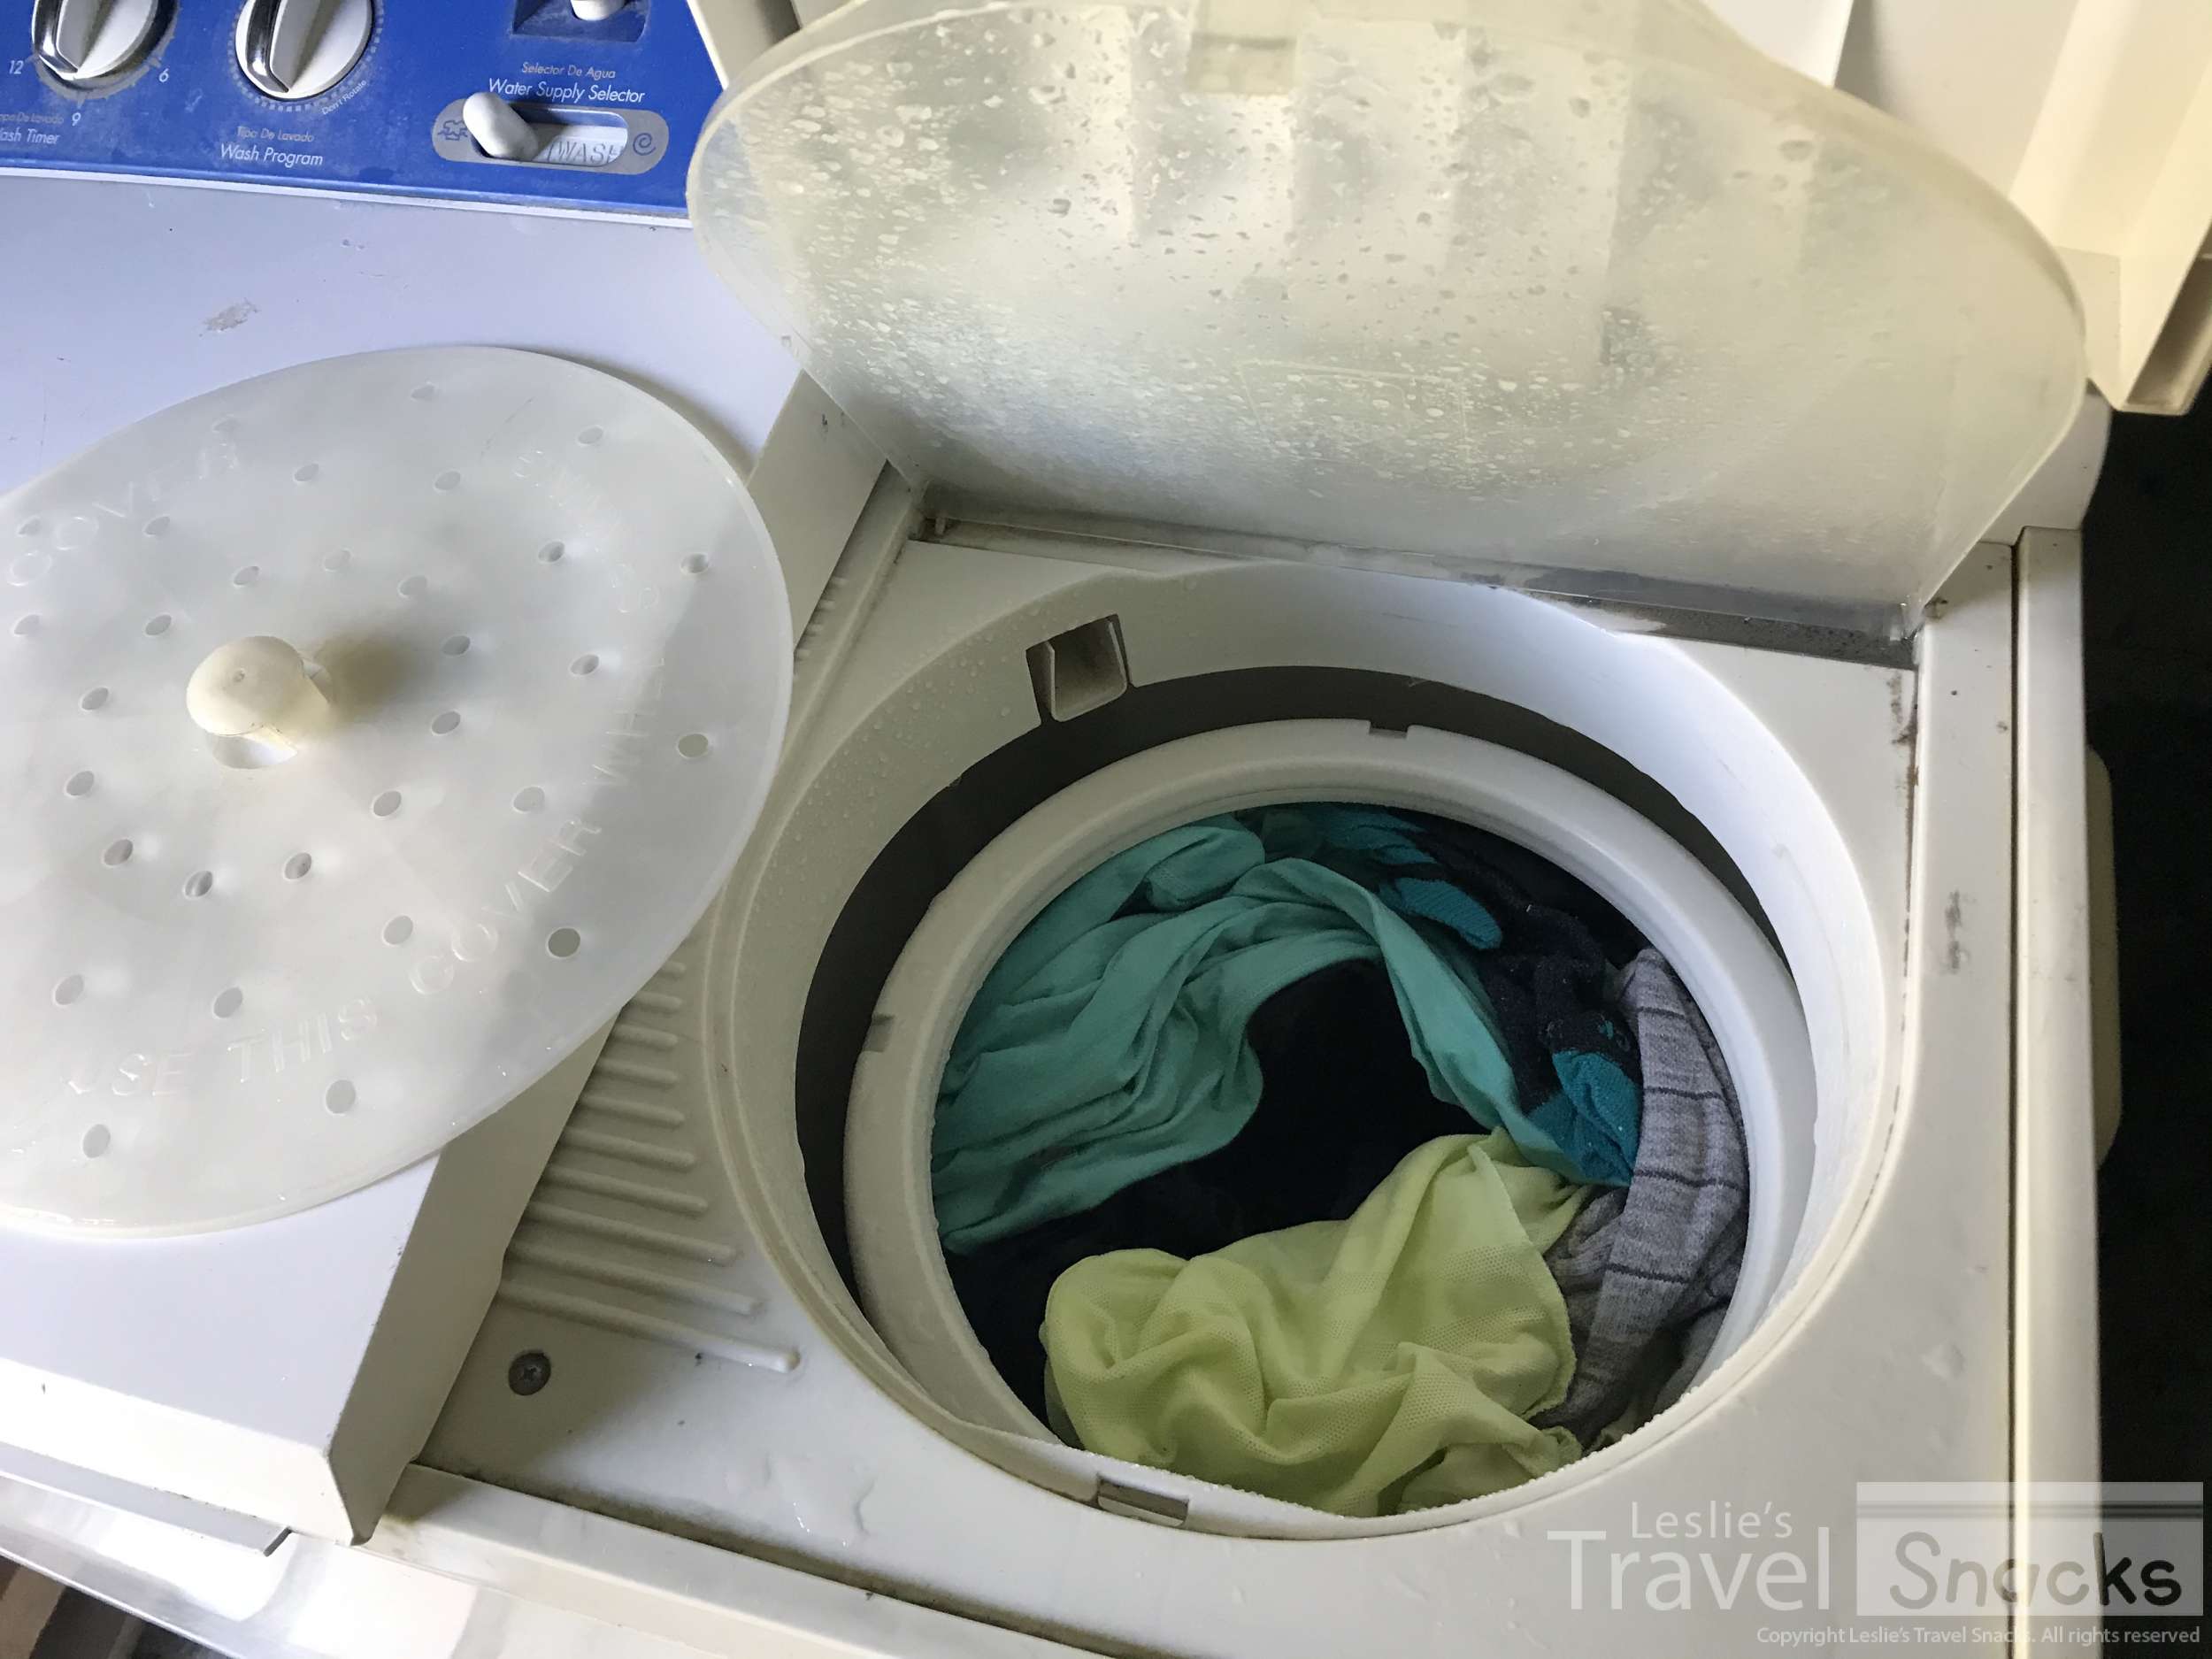
All done and ready to hang dry.